
 Printec Label Maker
4. Creating Address label using data list
1. Select Label – Select label to work by executing Any Pro.
① Select product class -> ② Select product number from product list then check label size and number of cells -> ③ Click Confirm

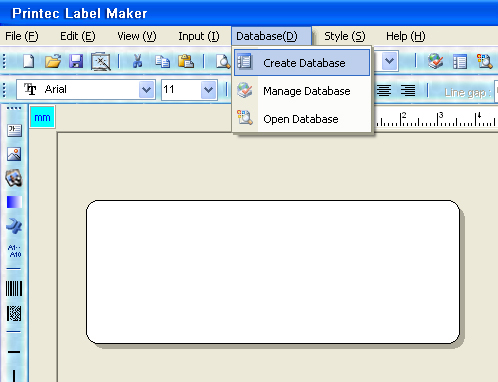
2. Select Create List from Data List when label sheet is shown on the screen
3. Create Data List
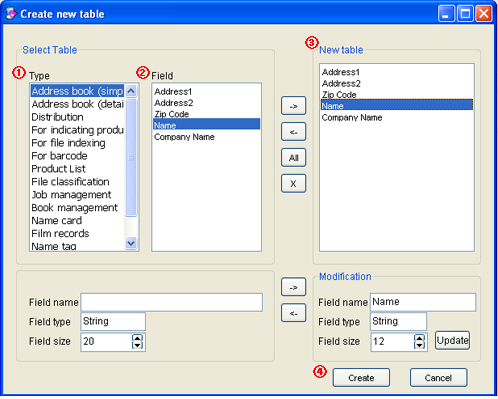
Select required table from types of table on ① and move required fields among field items of ② using -> to new table item of ③ and click ④ Create.
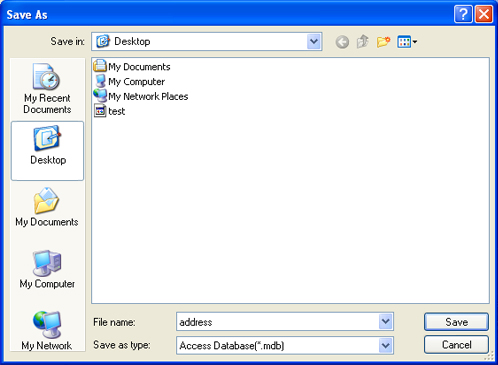
4. Saving data lists
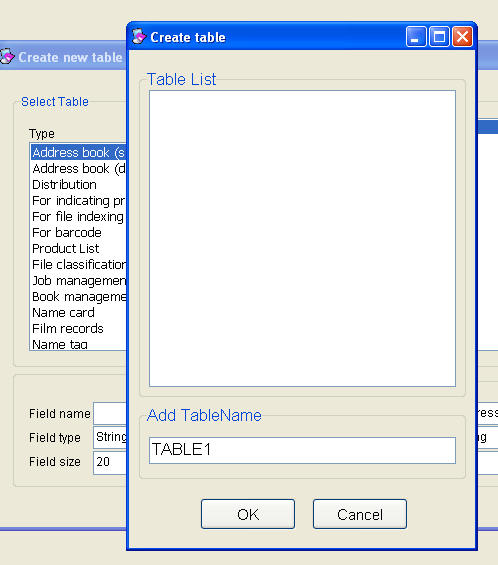
5. Adding table
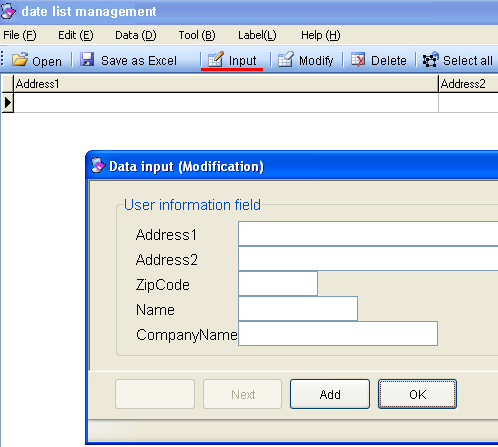
6. Click Enter from data list management and enter data. However) Select corresponding zip code by clicking Search button after entering only Dong (village) at Address 1 for searching zip code.
① Click "Confirm" button after continuously "adding" multiple data.
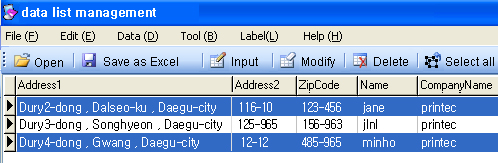
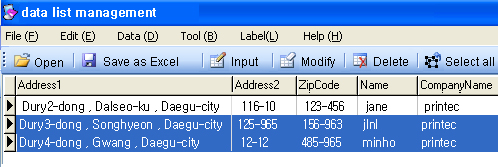
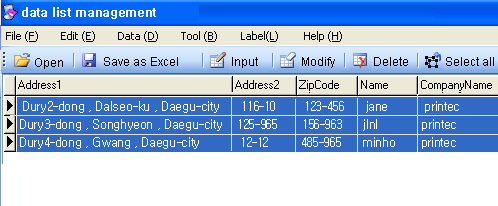
7. Select data to print on label. Selected data will be changed to activation mode in blue.
①When printing all entered data: Click "Select All" from menu.
② When entering distant data: Select distant data at once by pressing ctrl and clicking data as in selecting 1st, 3rd, 5th data for example.
③ When printing part of sequentially placed data:
: Select the first data (ex: 2nd data) and press shift and click the last data (ex: 4th data) will select data at once when printing 2~4th data on label for example.
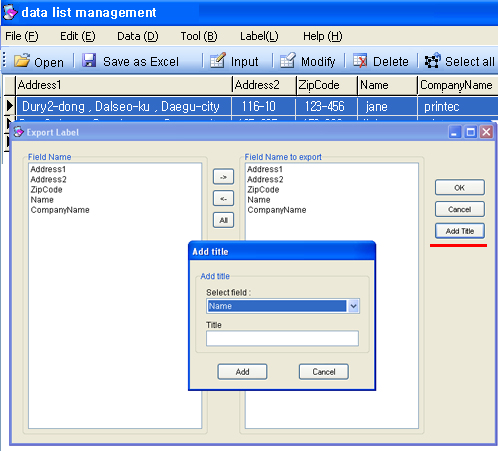
8. Click "Export" after selecting the names of fields to print on label and sending them to the right.

* click "Add Title" when entering titles in batch
9. It returns back to label window and the first data entered will be displayed on database window as shown below.Rest of data can be checked through "Preview".
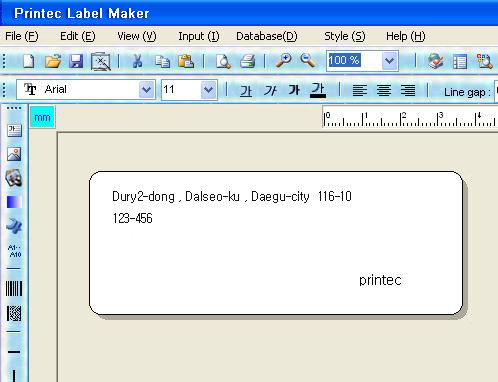
10. Click left mouse button on texts shown on label window and make changes to desired design by using style and font change box while black dotted lines are visible.
* Only make corrections on the first data shown on label window and the changes will apply to all the rest of data in the same way.
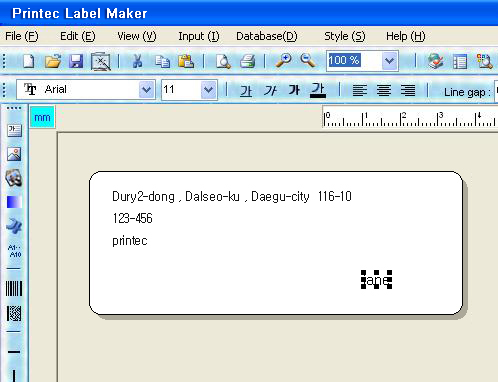
11. Check screen before printing with preview.
