Printec Label Maker
3. Creating outgoing address (printing entire label with the same contents)
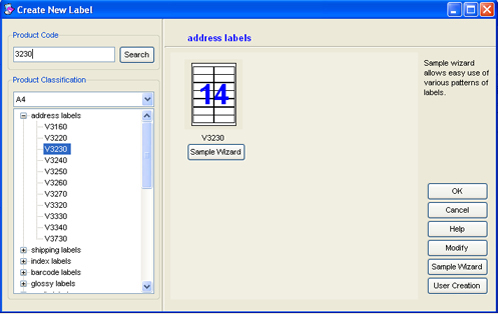
1. Label Selection – Select label to work by executing Any pro2
① Select product to use and click [Confirm] button.

② Entering product number in product code to make search easier.
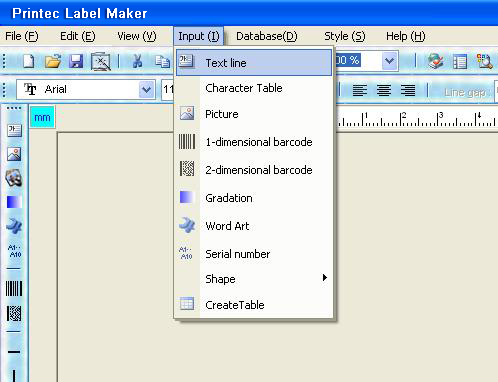
2. Enter text – Select Textbox among icon_ens on left or insert -> Textbox to create textbox when label sheet is shown on the screen.

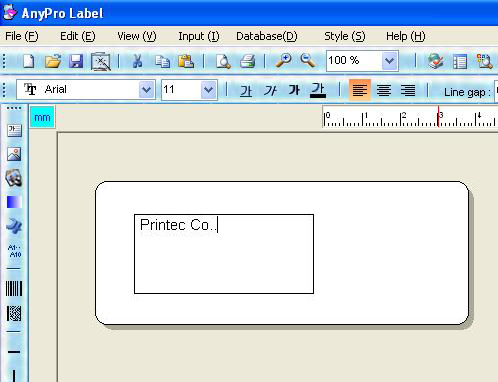
3. Cursor blinks within square while textbox is created and enter texts.
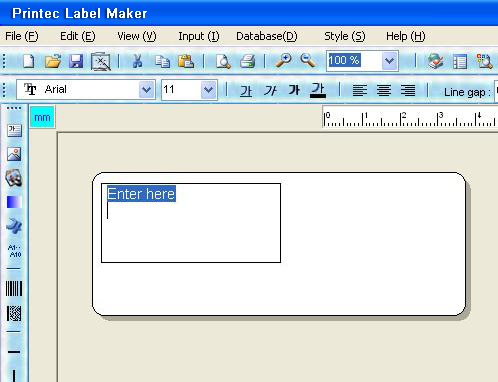
4. Separate textbox should be created on each string if location, font size, fonts, fonts color differ in each string. Click entered texts with mouse and change format while dotted lines are visible near texts when changing format on entered texts.

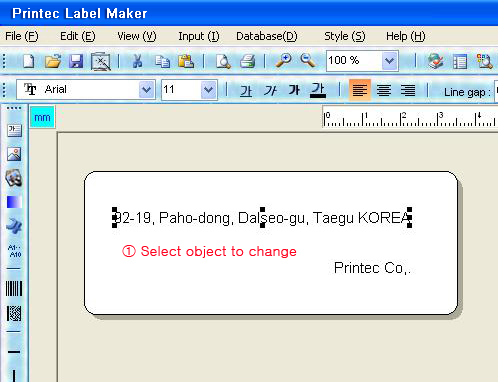
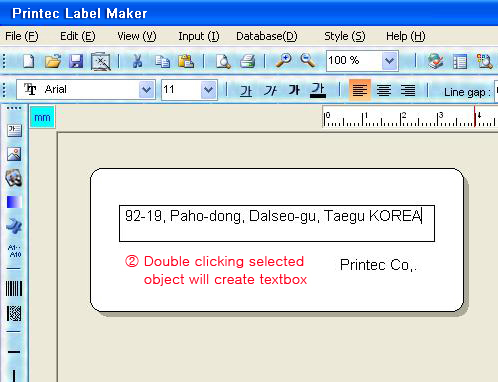
5. Clicking text to make adjustment with mouse will show dotted line when adding, deleting texts and double clicking mouse again will create textbox, add or delete texts when cursor blinks within the box.

6. Inserting pictures
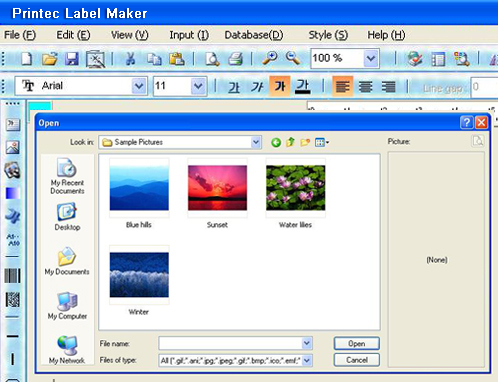
① Select picture on left or Insert -> picture.
② Retrieve picture file to insert from open dialogue box.
③ Select picture to edit retrieved picture and select property by clicking right mouse button.
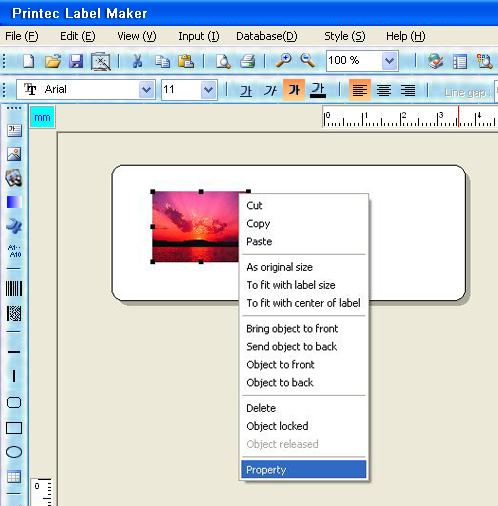
④ Click Confirm after editing size and image from image property.
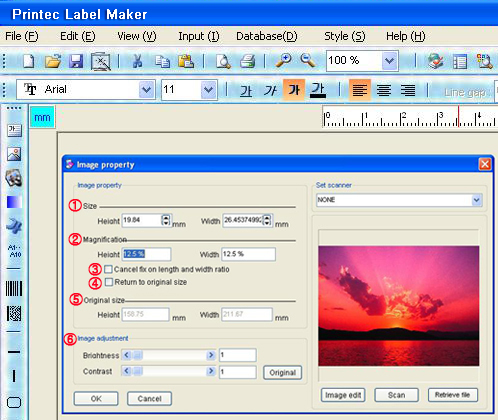
Click Confirm button after checking To Original Size when using the image in its original size.
| 1 | Size | Adjust size of image |
|---|---|---|
| 2 | Magnification | Adjust size of image according to magnification |
| 3 | Cancel fix on length and width rate | Possible to adjust size of image regardless of length and width ratio |
| 4 | Back to original size | Change size of image to its original size |
| 5 | Original size | Original size of image |
| 6 | Image adjustments | Possible to adjust brightness and contrast on image – Check through preview after adjusting image brightness and contrast |
| 7 | Image Editing | Possible to edit image by giving various effects on images |
| 8 | Scan | When scanning image |
| 9 | Retrieve file | When changing existing image to other image |
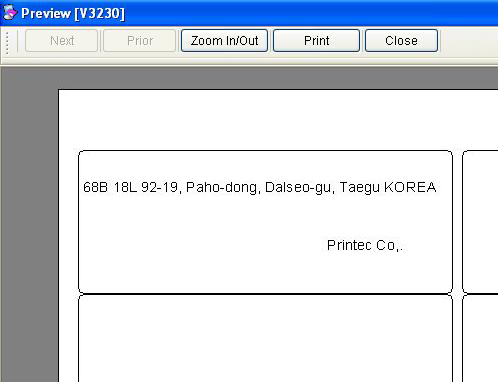
7. Preview