Printec Label Maker
6. Making a label using Sample Wizard.
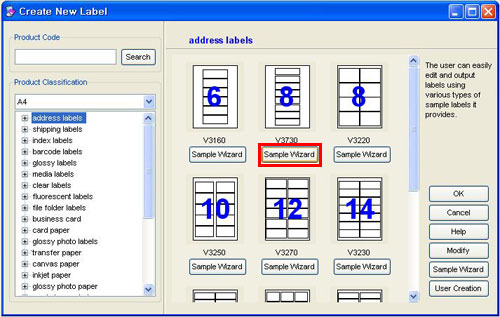
1. Select a label – run Printec Label Maker and select a label to be used.
① Select the type of product -> ② Select the product number and check the number of partition ->③ Click Sample Wizard
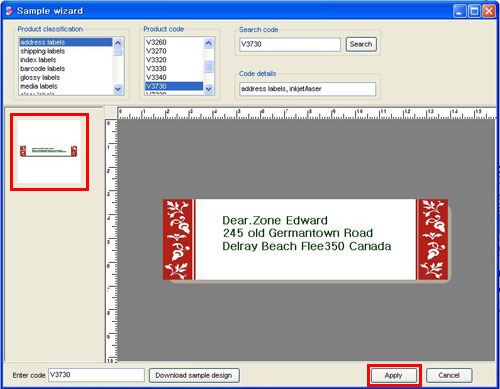
2. Select a design to be used among designs downloaded and press ‘Apply’.

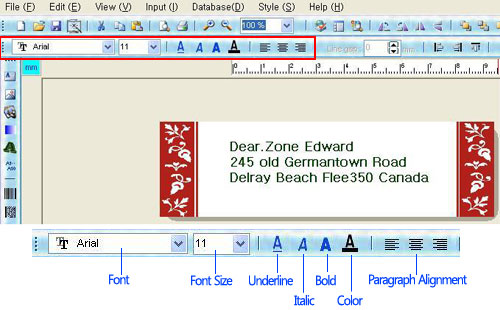
3. To add and modify a word, click a word then you can see a dotted line surrounding the words. Double click it. A text box appears and a cursor is blinking in the box. Now, you can modify, add and delete a word
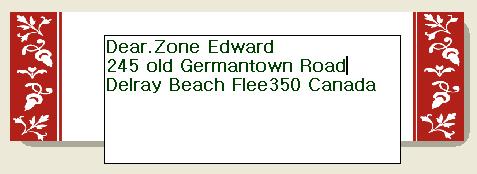
4. If a location of a text and a size and a color of a font are different, each string needs a separate text box. If you want to change a text style, which has been already inserted, click a text to make a dotted line appear on a text frame. Then, change a text style in the box.
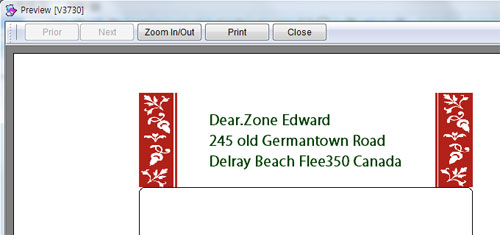
5. Preview.
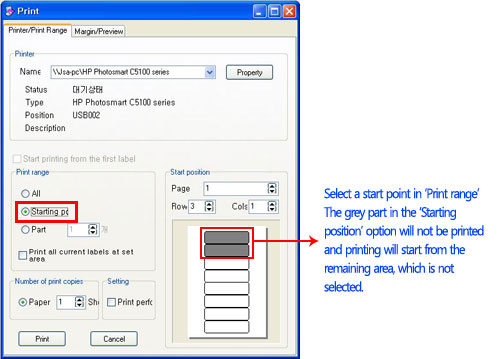
6. Print – if you want to print the same contents on each label, tick ‘Print all current working labels on the setting area’ and press the ‘Print’ button.

* Page Range :
|
All
|
Print all labels completed
|
|
Starting Position
|
Assigns starting position for printing from label
|
|
Part
|
Decide a print start position on a part of a label and how many labels will be printed
|
* Number of Copies :
|
Paper
|
Allow you to print more than one copy of a document
|
* Setting :
|
Printing perforation line
|
Print perforation line on labels
|
* Starting Position:
|
Starting position
|
Assigns starting position for printing from label
|
* How to use remaining labels